
Key takeaways
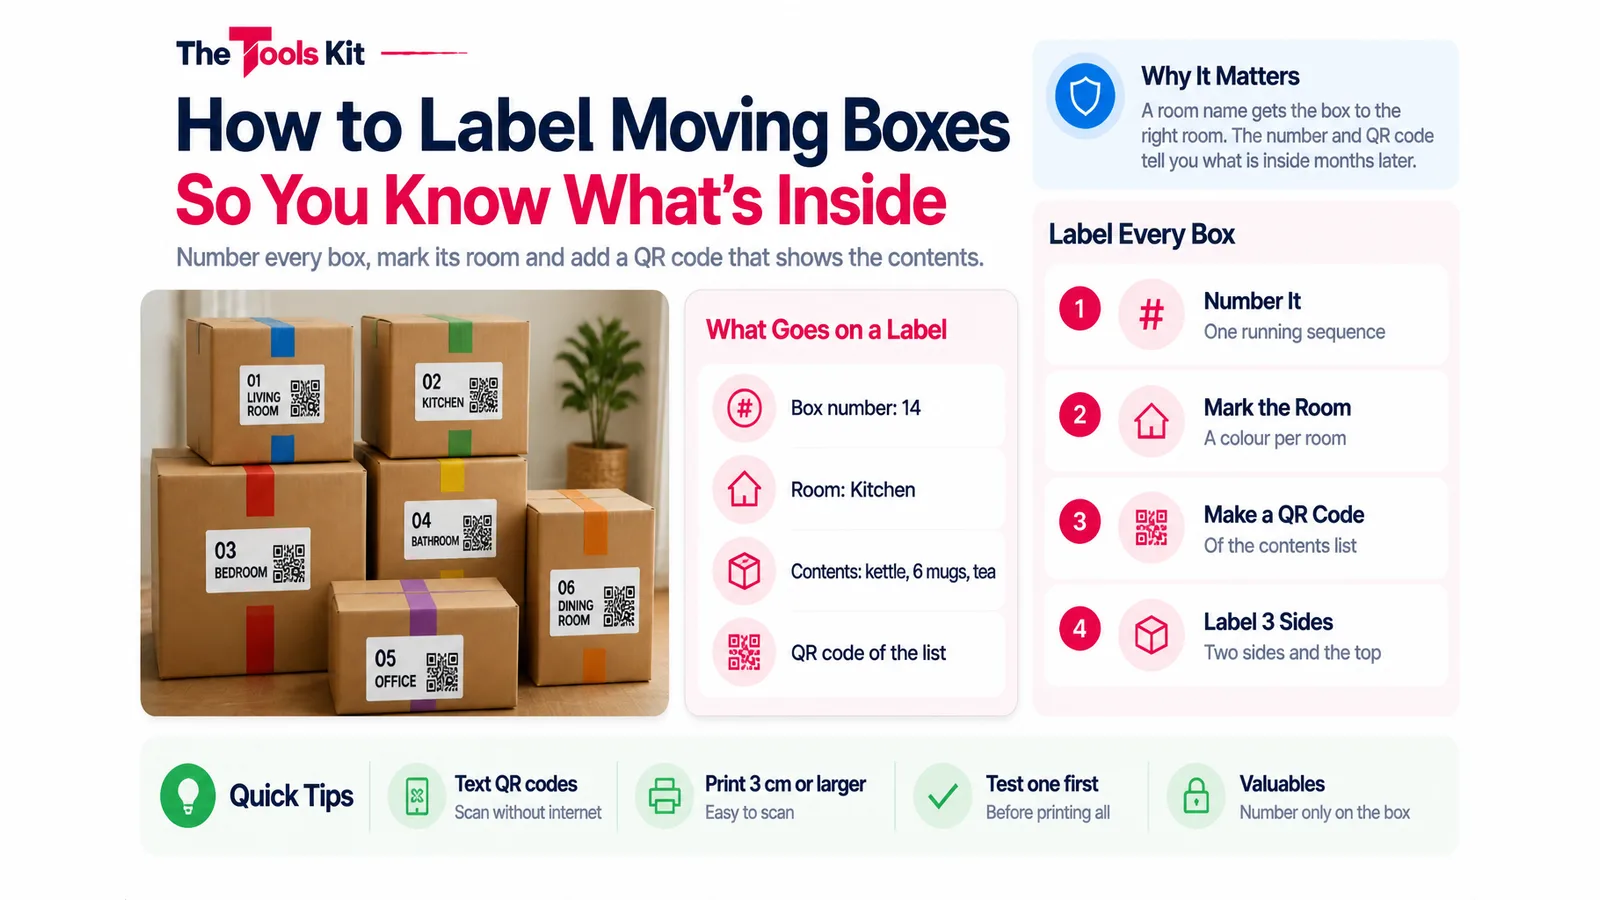
- Number every box in one running sequence and mark the destination room with a colour, so missing boxes and wrong rooms show up at a glance.
- A QR code holding the contents list as text scans without internet, which suits storage units and new homes without Wi-Fi.
- Label two sides and the top, keep a master list by box number, and test one printed QR label before printing the rest.
- Leave valuables and private details off the box; use the number only and keep those contents in your own list.
To know what is inside a moving box without opening it, give every box a number and a destination room, write its contents on a master list, and stick a QR code on the box that shows that list when you scan it with a phone. The number and room tell the movers where it goes; the QR code tells you what is in it, months later, when you are hunting for the phone charger or the passport folder.
This guide sets up the whole system in about the time it takes to tape the first box, and it works whether you have twenty boxes or two hundred.
Why "KITCHEN" on the side is not enough
The usual label is a room name in marker. It gets the box to the right room, then stops helping. A kitchen fills eight boxes, and the one with the coffee maker looks the same as the one with the baking trays. Long marker lists on the lid run out of space, get smudged, and are hidden the moment another box is stacked on top.
A good label answers three questions from any side of a stacked box: which room, which box, and what is in it. A number and a colour answer the first two. The third needs more room than a box lid has, which is where a contents list and a QR code come in.

The labeling system, step by step
- Number every box. Use one running sequence for the whole move: 1, 2, 3. Do not restart per room. A missing number on moving day tells you instantly that a box is missing.
- Mark the destination room. Write the room of the new home, not the old one. A coloured tape strip or sticker per room (blue for kitchen, green for the main bedroom) lets movers sort boxes without reading.
- Write the contents list as you pack. Keep it short and searchable: "Coffee maker, kettle, 6 mugs, tea, filters". Name the things you will look for, not every fork.
- Turn the list into a QR code. Paste the box number, room and list into a QR code generator, download the image and print it. Details below.
- Label two sides and the top. Stacked boxes hide their tops, and boxes against a wall hide one side. Put the number and room colour on two adjacent sides and the top; the QR code needs to go on at least one side.
- Keep a master list. A note or spreadsheet with one line per box: number, room, contents, and "fragile" or "open first" where it applies. If a QR label is torn off, the box number still finds it.
Making the QR code labels
Open our free QR code generator, type or paste the label text into the Text or URL field, pick a size between 100 and 500 pixels, and click Download QR Code to save a PNG. A text label looks like this:
BOX 14 / KITCHEN / Coffee maker, kettle, 6 mugs, tea, filters
There are two ways to use the code, and they suit different moves:
| Text in the code | Link in the code | |
|---|---|---|
| What it stores | The contents list itself | A link to a shared note or spreadsheet |
| Needs internet to scan | No, the text is inside the image | Yes, the phone opens the page |
| Can you edit the list later | No, make a new code | Yes, edit the note and the code still works |
| Best for | Most moves, storage units with no signal | Long storage, lists that will change |
For most moves, text is the better choice: the list travels with the box, and a storage unit or an empty new home with no Wi-Fi does not matter. Keep each list to the items you will search for. A short list makes a simple, open pattern that scans easily; a very long one makes a dense code that is harder to read when printed small.
A few practical points:
- Print size. Download at 300 pixels or more and print each code at least 3 cm (a little over an inch) square, so a phone can read it from arm's length.
- Test one first. Before printing fifty, scan one printed label with your phone camera or a QR scanner app and check the text appears.
- Protect it. Clear packing tape over the label keeps it readable if the box gets damp.
- What not to encode. The text you enter is sent to the api.qrserver.com image service to draw the code, and anyone who scans the box can read it. Leave out safe combinations, account details or "jewellery" on a box that sits in a hallway. For valuables, use the box number only and keep the details in your private master list.
Special labels worth adding
- Open first. One box per person with chargers, medicines, toiletries, a change of clothes, a kettle and paperwork. Label it on every side.
- Fragile and this side up. Write them in words, not only symbols, so every mover reads them.
- Do not move. For anything travelling with you in the car, so it does not end up on the truck.
A to-do list works well for tracking which rooms are packed and which boxes are still open.
When you unpack
Sort by room colour first, then open the "open first" boxes, then work through the rest by number. When you need something specific, scan codes instead of opening flaps. If a box goes into storage or the garage unopened, its code stays useful for as long as the label survives.
If you are still planning the move itself, our guides to hidden moving costs nobody budgets for and movers vs container vs truck rental cover the parts that happen before the first box is taped.
Frequently asked questions
Give every box a number from one running sequence, mark the room it goes to in the new home with a colour, write a short contents list, and put the number and colour on two sides and the top. Keep a master list with one line per box.
Not if the code contains the contents list as text. The text is stored in the image itself, so a phone reads it with no signal. A code that contains a link to a shared note or spreadsheet needs internet to open the page.
Print it at least 3 cm, a little over an inch, square from an image of 300 pixels or more, and keep the text short. Scan one printed test label with your phone before printing the rest.
For everyday items, yes, or put it in a QR code. For valuables, documents and electronics, use only the box number on the outside and keep the contents in a private master list, because anyone handling the box can read the label.